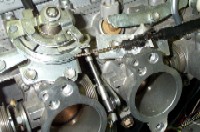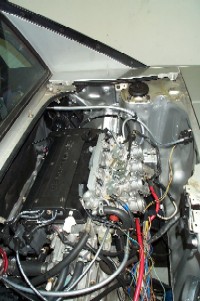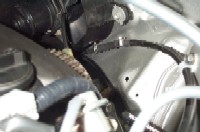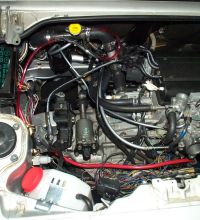
20V Blacktop Project - Days 24-25More little things!!! Coolant system complete: Heater hoses ran, water neck mounted to firewall, new cheap overflow tank mounted between driver's strut tower and the rear trunk, and tons of hose clamps. Air/Fuel Ratio Gauge mounted and OX signal ran up to the front via shielded single core instrument cable. I tapped into the cruise control connecter under the steering wheel for ignition power & ground. Those 2 driver's side vents are the perfect size for 2-1/16" gauges: Battery mounted in the front trunk. I took the huge Summit battery box, and basically cut it in half and moved the ends together for the small Trueno battery. The strap to hold the lid down was used to hold the sides of the box together. I used 1/4" threaded rod, some nylon lock nuts & fender washers for holding the battery down. I got lucky when drilling for the threaded rod. The nuts don't protrude under the car, instead are protected by that supporting north-south piece (it's the jacking point for the front of the car). Then made a bracket out of some aluminum stock, using my new rivet gun and JB Weld to hold it together. While everything was out I also cleaned up the mess past brake fluid spillage had caused to the floorboard. Painted with Krylon of course. 200A fuse: Past few days I have looked all over for the throttle cable bracket, but no luck finding it. That p*ssed me off. So I made one from scratch:
Extended the throttle cable, so that it doesn't drape over the engine, using the original MR2 cable and the 20V cable. This was fun. It was actually pretty easy, just took a while getting the right tools for the job. Here's the steps: - Cut the ends of each off with pliers, being careful not to cut the actual
cable.
Fuel line extended: |
|
| Home • Links •
Email Disclaimer: This web page in no way replaces
the MR2 repair manual. Follow what it says before me. The purpose of
this page is to give you a better pictorial description of what to do.
I cannot be held responsible for any mishaps caused by this web page.
|


