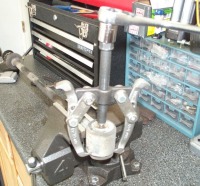
Rear Bushings Install Page 1/2Page 1 and 2 The pics below are during my full suspension/brake system rebuild. So they will be a little different than yours since I was removing everything. *Procedure of pressing the bushings out with just 2/3 jaw pullers courtesy of Dale Conner & Bill Merton from MR2 forum
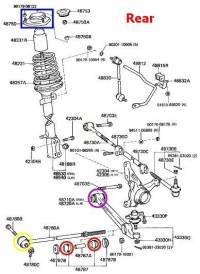
Rear Removal 1) Here's a pic of what the rear TRD bushing set replaces: strut top (blue), control arm (purple), & strut arm (yellow & red). So you will need to remove the strut assembly and the 2 arms. The inner tie rod bushing is not included with the kit. The only way to order it from Toyota is to purchase the actual inner tie rod which runs about $50 from the dealer. The axle carrier does not need to be removed completely. It will still be attached to the drive shaft and the tie rod end.
2) Loosen lug nuts, raise & support the rear of vehicle with jack stands. Remove wheel. (Ignore that the caliper is removed below.)
3) If you have new TRD strut tops you need to remove the strut assemblies. If you have the set from Fensport, or don't feel like removing the strut assemblies, goto step 4.
4) Remove the two 14mm bolts holding the bottom of the axle carrier to the lower control arm's balljoint. Then remove the control arm from the body of the car, 17mm bolt.
5) Remove the 17mm bolt and nut holding the strut arm to the body of the car. May need to remove one bolt of the underbody cover to get to the bolt.
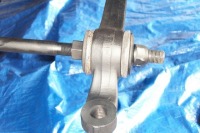
6) The strut arm and control arm should come out of the car together. You can then separate them by removing the 22mm bolt & the various other parts holding them together. (The below pic is with the ball joint removed)
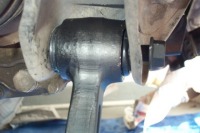
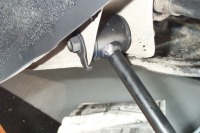
7) Here's pics of the removal of the control arm & strut rod bushings.
Go to Page 2 for the rear bushing install process... |
Home • Links •
Email
(remove NOSPAM from resulting email address)
Thanks for Visiting! - Eric Southers
Disclaimer: This web page in no way replaces
the MR2 repair manual. Follow what it says before me. The purpose of
this page is to give you a better pictorial description of what to do.
I cannot be held responsible for any mishaps caused by this web page.
